Create personalized PDF letters from spreadsheet rows
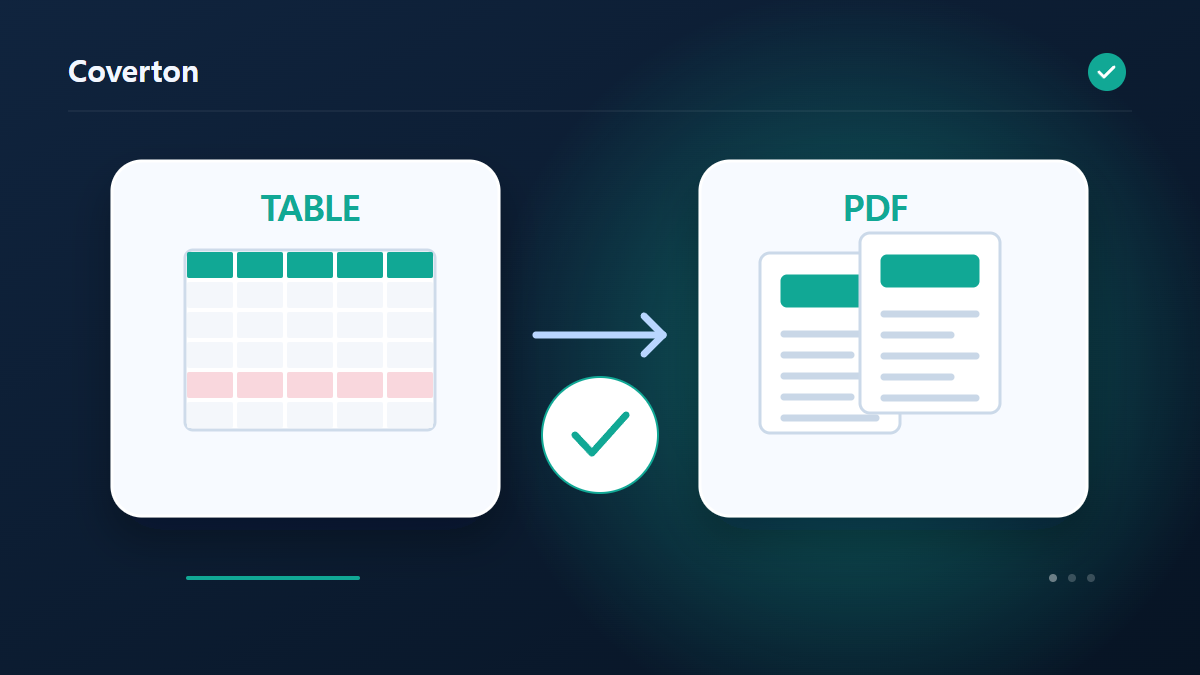
Use spreadsheet values to personalize a document for each recipient. The tool creates one PDF containing one page for each source row. Confirm who each row represents before generating the PDF.
How to use this tool
- Add the spreadsheet containing recipient values.
- Write a message using {{column}} placeholders.
- Run the task and inspect long messages and recipient details beyond the first page.
- Download the PDF containing all personalized pages.
Choose the right settings
Use the exact placeholder syntax shown in {{name}}, with a source column header inside. Keep the message short enough for one page and match every placeholder to its corresponding source header.
- Supported input
- CSV,TSV,XLSX
- Available settings
- Template: insert values with {{column}}
Before you start
Establish the meaning of the input
Before converting or arranging data, identify what a row or value represents and keep a source copy. In tabular files, review headers, separators and text encoding; in structured files, inspect the required object or array shape. Identifiers, dates and amounts should not be interpreted solely from how a spreadsheet happens to display them.
Where the tool offers matching columns, type rules or output fields, choose them according to the destination’s requirements. Test a sample with a blank, a repeated value and a value containing punctuation. For labels, charts or personalized documents, check which column supplies each displayed value and whether the source units and wording are correct.
Define a few checks before processing: an identifier that must retain its spelling, a value with a known interpretation and an expected relationship between records. If the tool offers type conversion or matching rules, distinguish a source value from the program’s display of it. Test ambiguous dates or differently written keys before accepting a broad rule. Keep the chosen rules and destination requirements with the result; this makes a discrepancy traceable to input, interpretation or the requested transformation.
Verify values, structure and exceptions
Reopen or import the result using the destination’s settings. Compare headers, record counts and several values with the source, allowing for the operation you requested. A summary, split or duplicate-removal task can legitimately change the count; verify why it changed rather than expecting every transformation to keep identical rows.
Inspect any exception or validation report before continuing. If columns shift, characters are garbled or a key is not found, check delimiters, encoding and exact header spelling first. Encoding data does not encrypt it, and formatting a value does not confirm its meaning. For printed codes or labels, test the actual output before making the full set.
Example input and output
recipient rows + letter text → one PDF with one page per rowExamples describe the workflow. Results depend on the source file and settings.
Check the saved result before using it
Inspect PDF pages containing long names or messages, as well as the first page. Compare recipient, product and amount fields with the source to confirm they came from the same row.
If the result is different from what you expected
A missing-column error calls for checking placeholder names against the spreadsheet headers exactly. Shorten messages that exceed one page; this workflow does not import an existing Office document's layout.
Limits to keep in mind
- One PDF with one personalized page per row, up to 100 rows. This does not import Office layout.
Continue with a related tool

This guide explains the public browser tool. Keep a copy of the original and inspect the result before sharing it.