 Coverton Blog
How to make a photo contact sheet with useful columns and cell sizes
A contact sheet places photos in file-list order for review in one picture. Each image keeps its proportions inside a cell, so photos with different aspect ratios can leave different amounts of space around them.
Open the tool →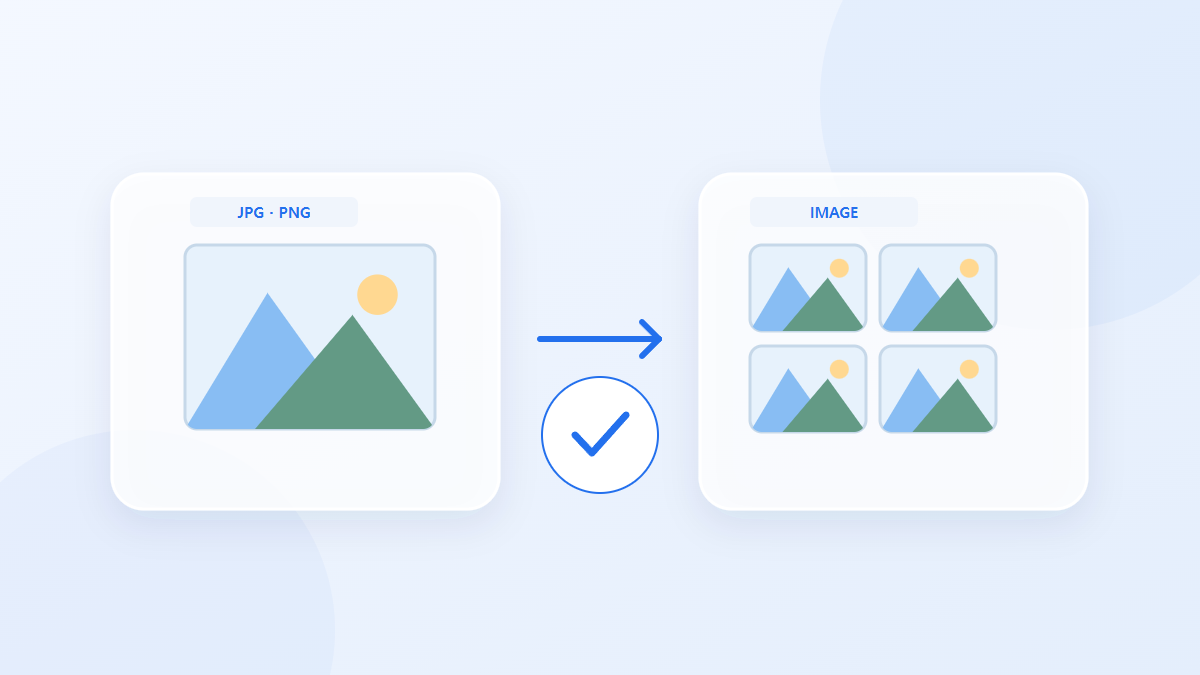
How to use this tool
- Choose files in JPG, JPEG, PNG, WEBP format. Maximum files per batch: 100.
- Review Columns, Cell width (px), Cell height (px), then start processing.
- Download the PNGJPG result and check its content and quality.
Choose the right settings
Choose the column count, cell width and height, gap and background. With the same number of photos, changing columns alters the row count and the final image's overall dimensions.
- Supported input
- JPG, JPEG, PNG, WEBP
- Output
- PNG / JPG
- Available settings
- Columns
- Cell width (px)
- Cell height (px)
- Gap (px)
- Background color
- Output format
- Output quality (%)
Example input and output
4 photos + 2 columns → image gridExamples describe the workflow. Results depend on the source file and settings.
Check the result before you save
Confirm that every photo appears from the first through the last. Inspect details at the size you will use and compare the sequence with the original file list.
If the result is different from what you expected
If the combined canvas is too large, reduce the photo count or cell dimensions. Review individual source photos separately when assessing their quality, because a small contact-sheet cell cannot show all their detail.
Limits to keep in mind
- Thumbnails are resized to the cells. Large grids can exceed the browser's canvas or memory limits.
This guide explains the public browser tool. Keep a copy of the original and inspect the result before sharing it.